Changing name server in Bigrock is really easy as changing in other registrars.
By default, domains purchased from Bigrock will be already connected with Bigrock hosting and your website will be Live in 24-48hrs.
Changing name servers is required when you want to use the hosting of a third party.
Requirements
1) Name servers of your hosting (can be obtained from your hosting provider)
2) Domain access (bigrock account access)
Steps to change Name servers
1) Login into Bigrock account
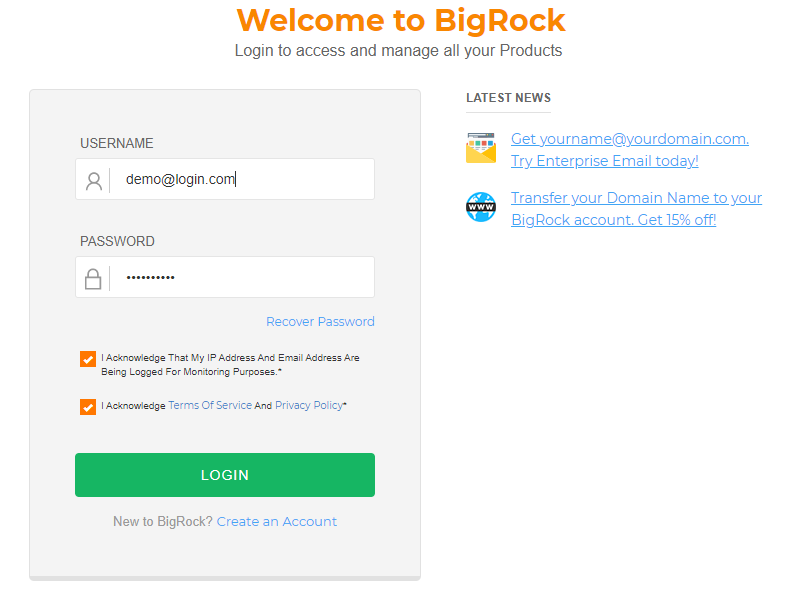
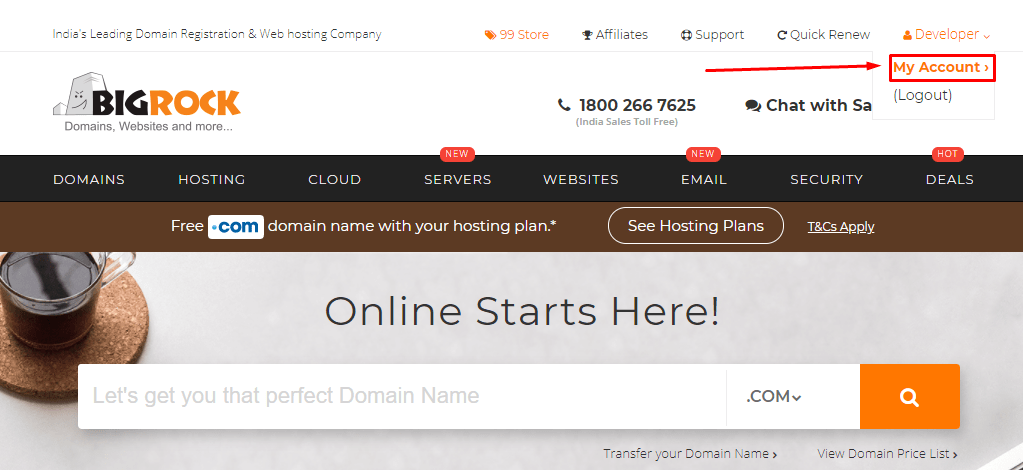
2) Once you are logged in, click on right side “My account”.
3) All your domains will be now listed which are in your account.
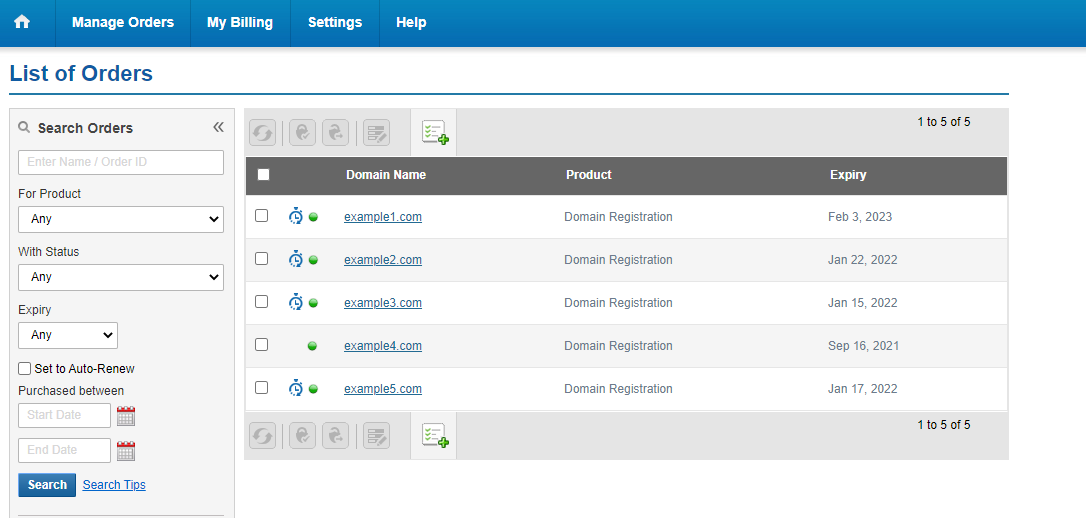
4) Click on the domain name on which we need to change the name servers (in this tutorial, we will be using example3.com as a demo in which we need to change the name servers)
All domain settings will now be listed as shown in the screenshot. Now click on Name Servers option.
 5) A pop-up will be shown where your ‘current name servers’ will be listed.
You need to enter your name servers by replacing the current one just like in the screenshot below.

6) Once you have entered your hosting name servers, click on “Update Name Servers” and you should see the screenshot like below.

Once you have received the message “The Name server details have been successfully update”, you have successfully changed your name servers and your domain will be Live from your new name servers in 24-48hrs.
You can also track the namserver update via DNS checker
Feel free to share your questions in the comment section.