
What is Cloudflare?
Cloudflare provide you Free CDN and a Firewall to protect your website from day-to-day website hacking attacks.
Cloudflare protect your website in many ways, such as hiding your Server IP, blocking malicious users, stopping DDoS attack, and many others.
Also it provides Free SSL to all the website which have Cloudflare “Active” on their website.
Why should I use Cloudflare? Advantages?
- Offer Free Plan for beginners
- CDN
- Free SSL(https) for your website
- Free Firewall
- Cache your website to improve website loading speed
We recommend that you add Cloudflare to your website as it will provide security to your website and also it will speed up your website speed.
How to add Cloudflare to Website
We recommend you to add your website to Cloudflare when you have very low traffic to avoid encountering common problems.
This guide is not for those who use “www” in their website along with SSL. You’ll need to remove www in order to use cloudflare along with cloudflare SSL. (More detail in the end of the tutorial)
Steps:
1) Signup for Cloudflare by using this link

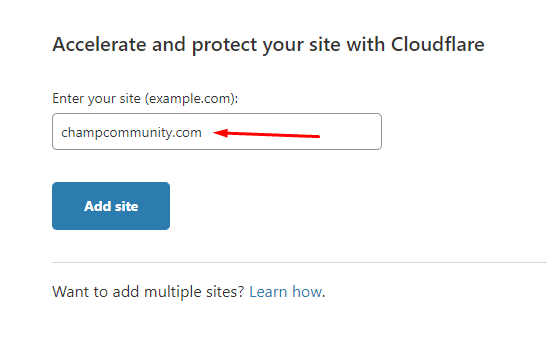
2) After signup, you’ll be asked to enter domain name that you want to add in Cloudflare. Add your domain name and click “Add site”.
3) The next step would be to choose plan. Select “Free” and click “Confirm Plan”.

4) Cloudflare will start searching for your all your DNS records that will be synced with Cloudflare. Allow 2-3 mins for cloudflare to scan your DNS records

5) Once cloudflare has finished scanning your DNS records, it will show all the records that it found.
Note: There is 90% chance that Cloudflare has synced all the DNS records, however some records maybe missing which you’ll need to add manually by comparing your current DNS records with Cloudflare synced DNS records.
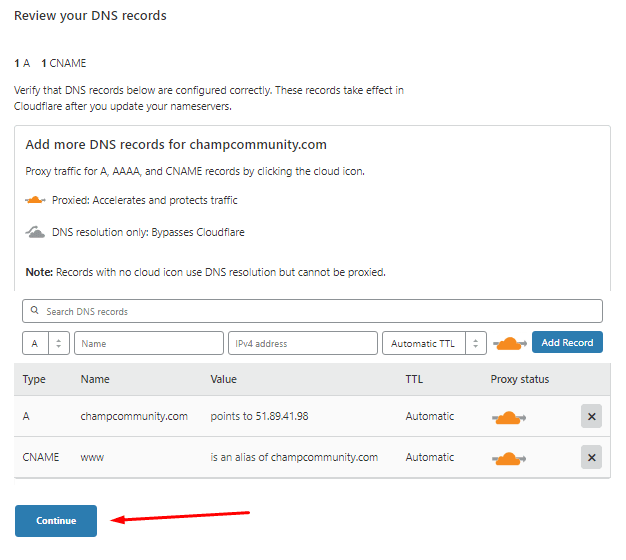
6)Click on “Continue” once all the records are added in Cloudflare.
7) The next step would be to change your Namservers and set it to Cloudflare Nameservers. (Ask your domain registrar for help if you don’t know how to do it)
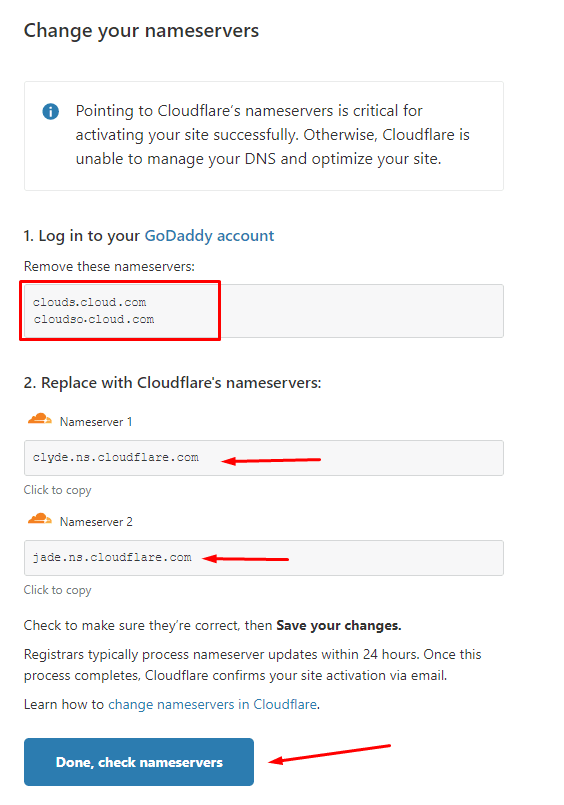
8) After nameservers are changed, click on “Done, check nameservers”.
9) SSL/TLS option will be shown, just scroll and click “Next”.

10) Cloudflare will show “caching” option, we recommend just clicking on “Next”.
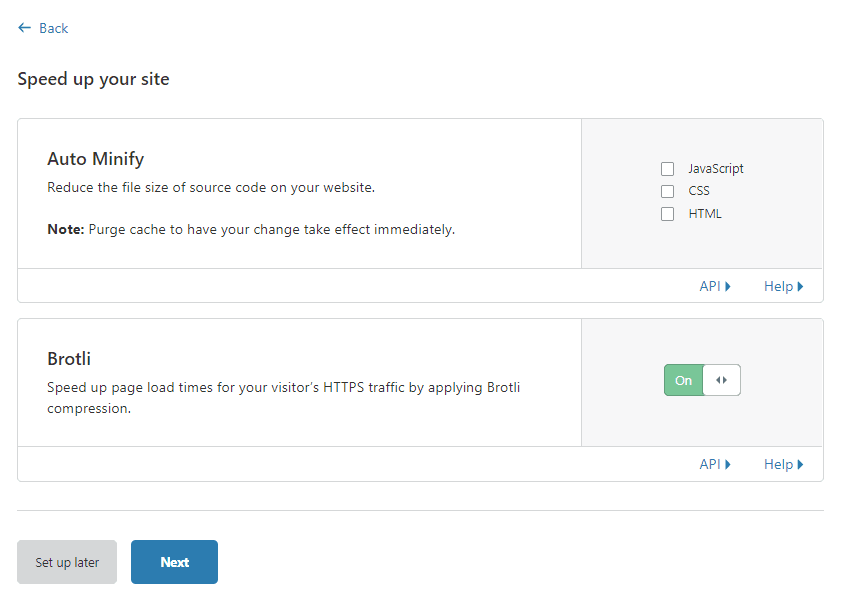 11) After every steps are followed correctly, your control panel will look like the below screenshot.
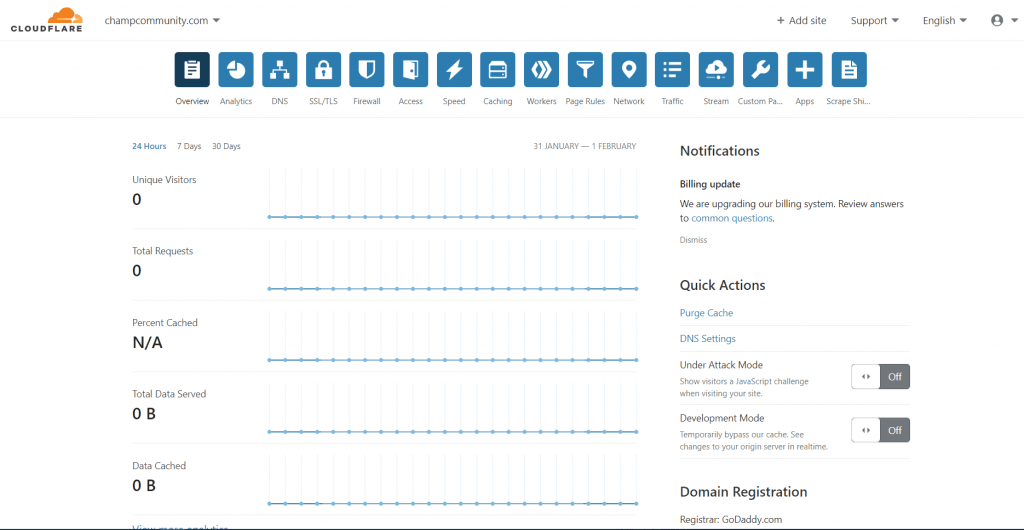
Congratulations! You have successfully added Cloudflare in your website.
Common problems after adding Cloudflare
1) Website showing “SSL warning”?
Solution: If you were using SSL(https) in your website, allow upto 24hrs for Cloudflare to generate Wildcard SSL for your website and all of your subdomains.
2) Website not working on on https://www protocol?
Solution: Use website without www i.e you’ll need to remove www from your website.
3) Cloudflare not showing dashboard like in Step #11?
Solution: Either your nameservers are not yet changed to Cloudflare or you’ll need to wait for 1-2hrs for Nameservers update.